

It’s easy to plot and procrastinate on styling an empty wall. (For one thing, there are so many possibilities!) Should you measure? Probably. Arrange your photos and items ahead of time? Sure. But the most important part, even more important than getting your photo wall picture perfect? It’s giving your treasured photos—and wall sculptures, paintings, mementos and more—the presentation they deserve. And the best part? You don’t need a lot of space to create a beautiful, personal gallery wall.
So, whether you are working with a corner, staircase, living room, bathroom or kitchen wall, check out these photo wall ideas for using more than just photographs, then have fun creating your own.
Step #1: Grab Your Supplies
These include tape, a pair of scissors, a pencil and paper. (Okay—you might also need a stud finder for heavy items, a measuring tape, nails, a hammer and a drill, but we’re teaching you how to style here.)
Step #2: Evaluate the Space
In our featured space, we have crown molding, a dining table and chair, a statement chandelier, and a floor mirror to work around. What are some unique features in your space? How do they affect sight lines? And how can you use those features to add to the gallery wall?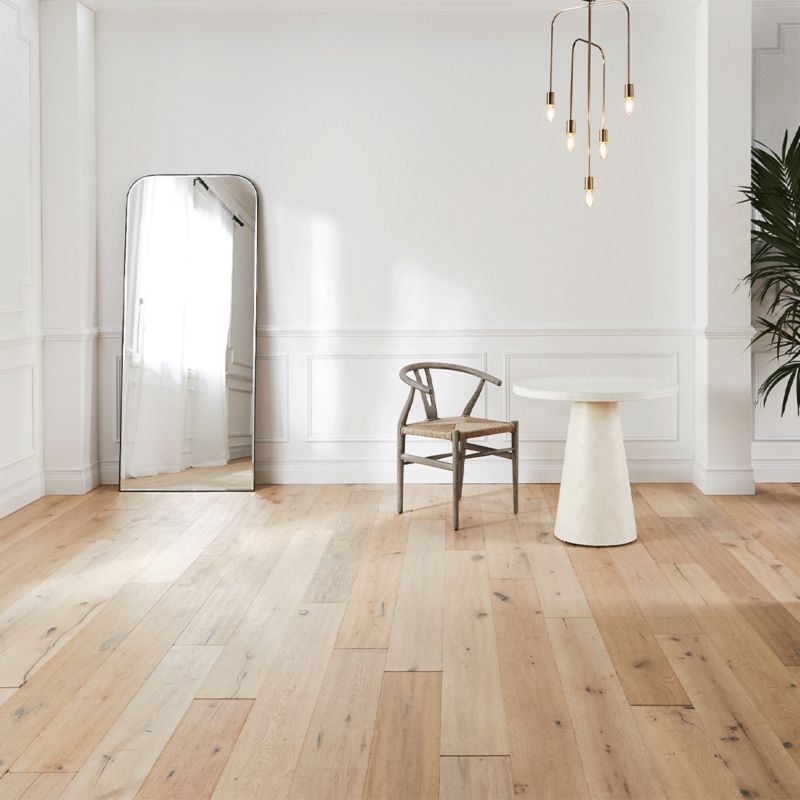
Step #3: Choose Your Pieces
This might be the most time-consuming portion of the whole process. Choosing the right pieces for your style is important. But repeat after us: spackling exists and style changes.
Tip: Use a mix of framed photographs, works on canvas and other wall art to round out the look.
Step #4: Lay Out Your Floor Plan
Create a space on your floor to lay out the look before you bring out the hammer. Arrange all the pieces you’ve chosen in one space, step back and breathe. Does it feel right? Keep rearranging until it does. There’s always at least one change that happens during this process.
Step #5: Snap a Pic
You shouldn’t need any assistance with this one—an iPhone shot will do.
Step #6: Trace, Cut and Tape Up Paper Templates
Ahh, don’t you just love the feeling of gliding scissors through paper? Cut out paper stand-ins for all chosen pieces and arrange them on the wall using masking tape. Consult your reference photo as you go, and don’t be afraid to make small tweaks or dramatic changes wherever needed.
Tip: The center of your art should be at eye level. Choose a consistent measurement between frames (for example, two inches). Start in the middle and work in a grid.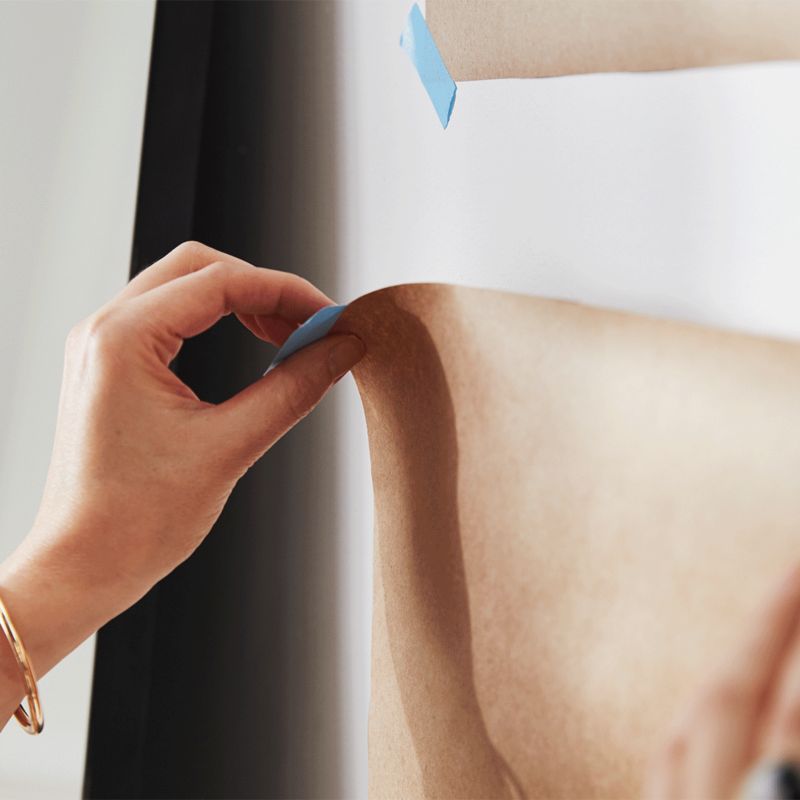
Tip: Save time when hanging by making a nail guide. Simply evaluate where your hook is on the back of your frame (all frames vary) and make a matching mark with pencil on your paper.
Step #7: Hang
Here comes the fun part when all your hard work comes to life. Depending on your wall material, the availability of studs and the weight of your art, hammer nails or drive screws—using wall plugs as needed—into the marks on the templates. Once they’re all complete, triumphantly rip away the papers. Hang all of the pieces and step back to admire your new gallery.
Product Relate
Olive You Art Print Canvas Painting Goblet Poster Simple Style Letter Together Wall Art Picture Modern Bedroom Decoration
Genuine Leather multifunctional massage bed frame Nordic camas ultimate bed LED light Bluetooth speaker safe radio notepad board
Cloud Design Shade: Paper Lamp Cover Nordic Decorative Ceiling Hanging Light Shade for Floor Wall Lamps Ceiling Pendant Light
$31.07Original price was: $31.07.$21.58Current price is: $21.58.NEO Gleam Modern Led pendant lights for kitchen island bar Dining Room Matte Black Hanging Pendant Lamp Fixtures Free Shipping
1Pc Abstract Golden Tree Oil Painting On Canvas Posters Prints Wall Art Pictures For Living Room Cuadros Decor No Frame
$39.81Original price was: $39.81.$16.33Current price is: $16.33.Crystal Velvet Large carpet light Luxury Household Living Room Bedroom full of sofas Coffee table carpet easy to take care of
Carpets for Living Room Decoration Hapsburg Moroccan Shag Area Rug Floor Mats 5”3“ X 7”3“ Beige Pink Room Decor Stitch Gamer
$294.74Original price was: $294.74.$144.03Current price is: $144.03.Astronaut Spacecraft Rocket Space Planet Nursery Wall Art Canvas Painting Nordic Posters And Prints Pictures For Kids Room Decor